How to create a Lesson using the Text with Image Component?
You can create a page with some text on one side and an image on the other side of the screen using this component.
When to use this Component
You can use this component whenever you want to explain something with an image. It could be an introduction or any explanation page.
How it works
- The pages created with this component are static.
- Each page may contain only one title, one image and lot of description text.
- There is no interactivity involved in the pages created with this component.
Features of this Component
-
The text can have bulleted points, hyperlinks etc.
-
You can place an optional heading for the page.
-
You can swap the sides of the image and text just by clicking a checkbox.
You can create a page using this component by following the below steps.
Step 1: Go to the required Slide
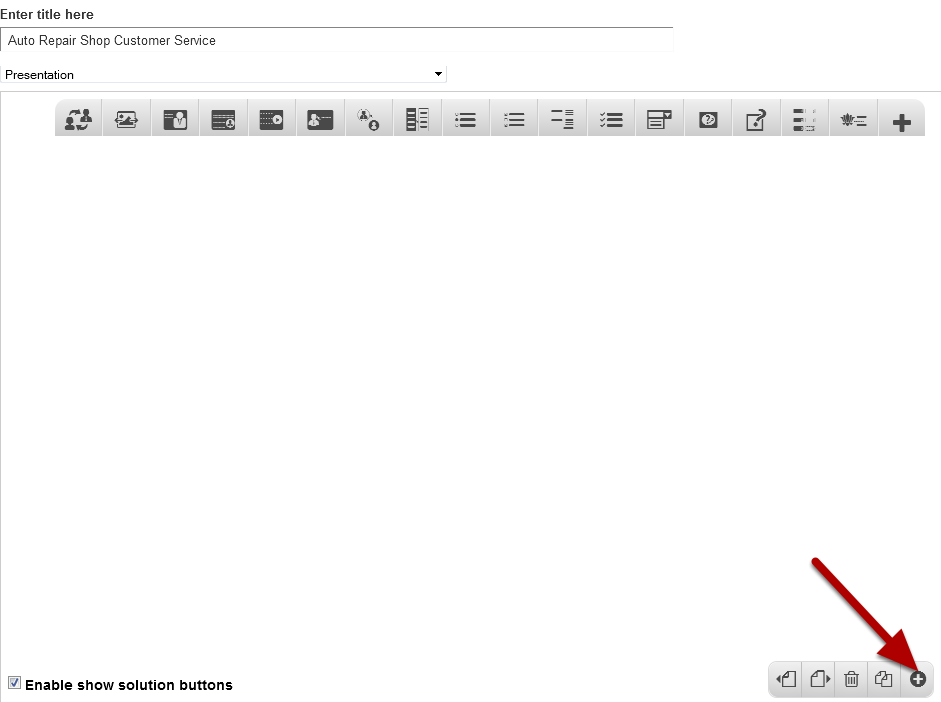
If you are creating a new Presentation, you will be taken to the first slide where you can use this component and create a page. Alternatively, if you want to add a new slide where you want to use this component, click on the '+' icon on the lower right corner as shown in the above image.
Step 2: Click on the Text with Image Component Icon
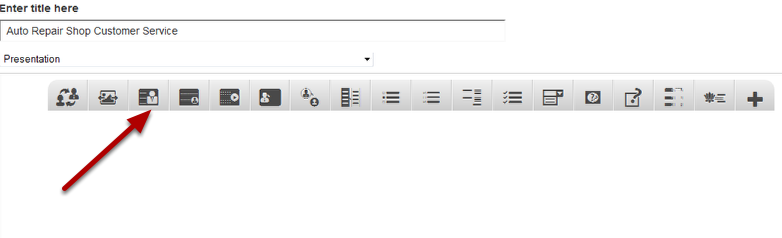
Then click on the Text with Image Component icon as shown in the above image. You will see a screen similar to the image shown below.
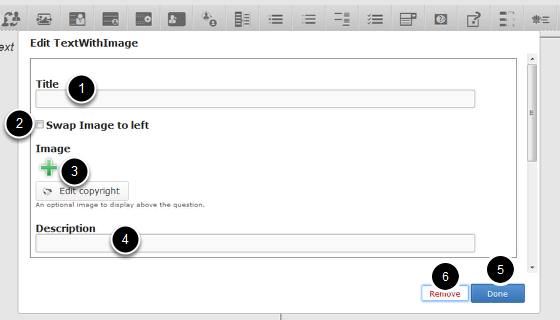
On this screen, you can
- Add an optional title by typing it in the Title [1] field.
- Swap the image to the left side by clicking on the Swap Image to left [2] checkbox. By default, the image appears on the right side.
- Add an image related to the contents of the page by clicking on the '+' button below the Image [3] field.
- Add the description text or contents of the lesson on the Description [4] field.
- Click the Done [5] button to save the changes.
- Click the Remove [6] link to remove the component.
Step 3: Add a Title (Optional)
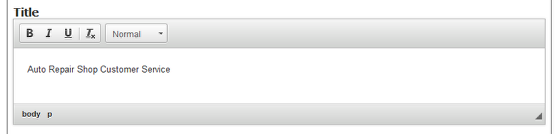
Type the title of the page on the Title field as shown in the above image. You can also format the title. This field is not mandatory, and if you don't enter a title, it won't be shown as an empty space on the page.
Step 4: Add an Image
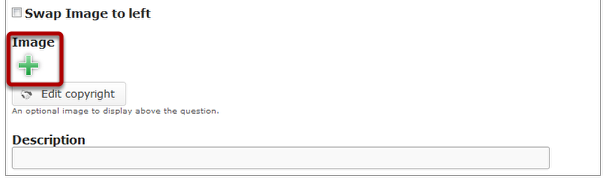
You can add an image to the page by clicking the '+' icon as shown in the above image. You will see the below screen which will prompt you to choose an image file.
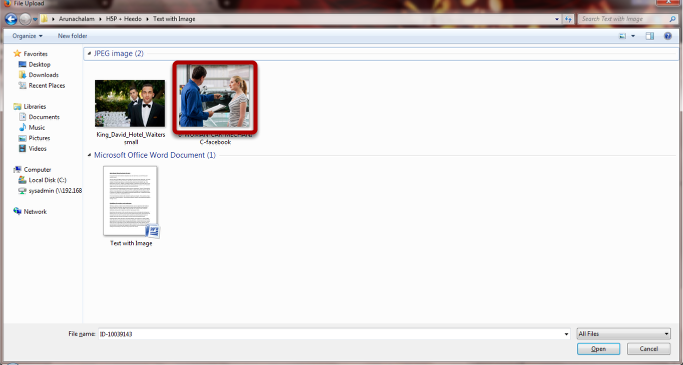
Select the folder from the above screen and select the image that you want to add to the page.
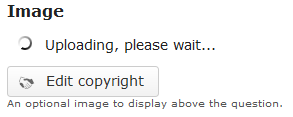
You can see the image being uploaded as shown in the above image.
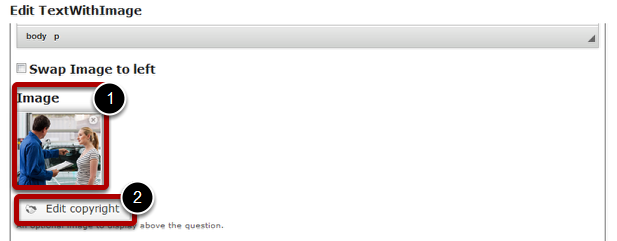
Once the image has been uploaded successfully, you can see the image's preview under the Image [1] title shown in the above image. You can also update the copyright details of the image by clicking on the Edit copyright [2] button shown above. Once you click this button you will see the below screen.
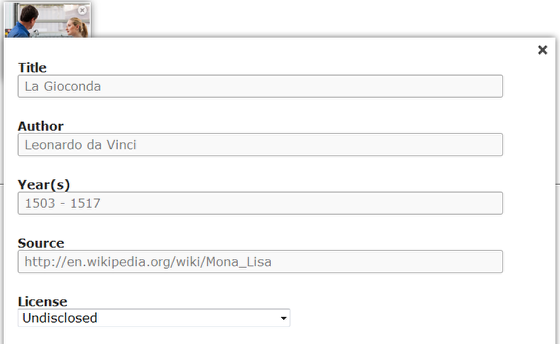
You can enter the image's copyright details on the above screen and click outside the window to update it.
Step 5: Add Description
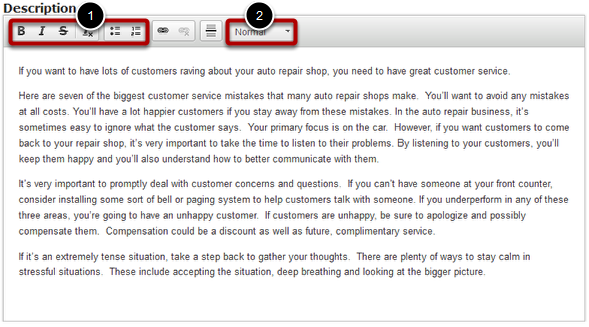
Just type the contents of the page in the Description field as shown in the above image. You can also change the format of the text, add and remove hyperlinks and insert horizontal lines between the contents.
Step 6: Swap Image to the left side (Optional)
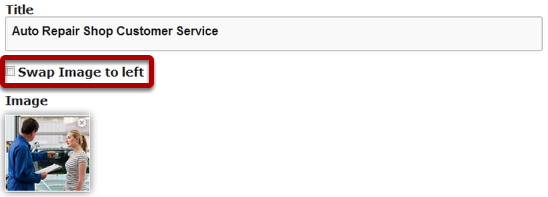
By default, the image appears on the right side of the screen. If you want it to appear on the left side, just check the Swap Image to left checkbox shown above. In this example, the checkbox is left unchecked.
Step 7: Click the Done Button
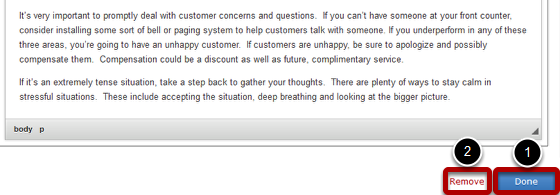
Once you've updated all the details, click the Done [1] button shown above to complete editing the page. You can cancel creating the page just by clicking the Remove [2] link shown above. If you click the Done button, you will see the below screen with a preview of the created page.
Step 8: Click the Create Button
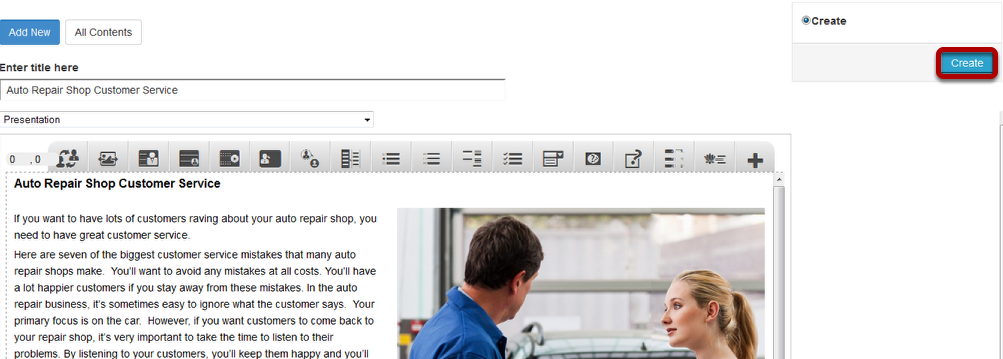
If you still want to edit the page, just double click on the preview page, and you will be taken to the Edit page. If you've done all the changes, you can click the Create button as shown above picture to finish editing the page.

You can see the finished page as shown in the above image. You can add as many pages as possible using this component in a Presentation.
Notes
-
You can upload images in .jpeg, .png and .gif formats only.
-
Even if you swap the image to the left side, the title will remain on the left side only. You won't be able to swap the side of the title.
-
You can create as many pages as possible in a Presentation using this component.